Anúncios
Baixe o guia grátis
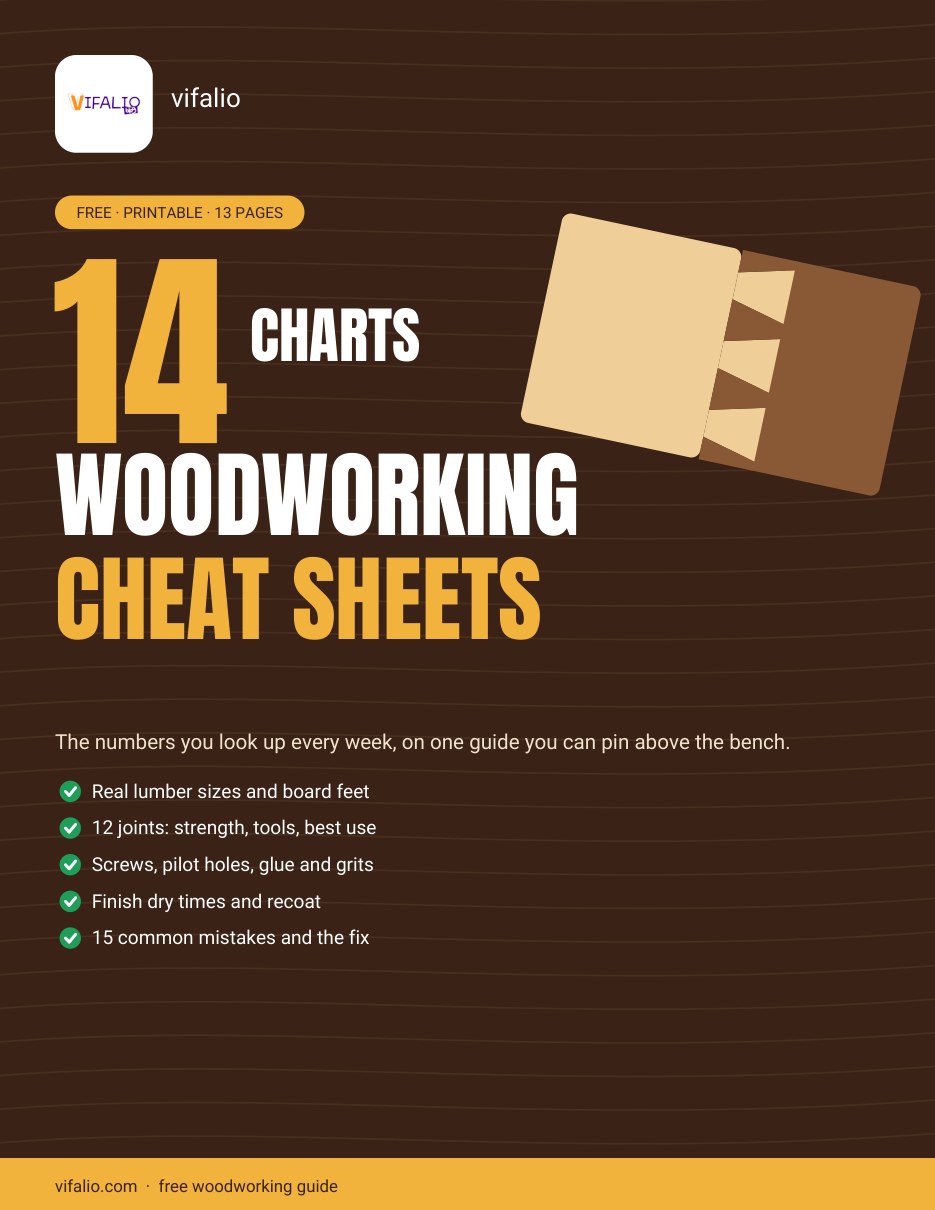
O guia em inglês tem catorze tabelas para imprimir: medida real da madeira e do compensado, board foot, espessura da madeira de lei, vão máximo de prateleira, doze juntas, parafusos e pregos, cola, lixa, acabamento, medidas padrão de móvel, frações em milímetros, quinze erros com conserto e uma folha de projeto com lista de corte.
 PDFPDFPDF
Parafuso e furo-guia
O furo-guia é para a rosca, na peça de baixo. O furo de passagem é para o corpo do parafuso, na peça de cima, e faz as duas peças encostarem bem. Madeira dura pede furo-guia um pouco maior:
Anúncios
| Parafuso | Furo-guia madeira mole | Furo-guia madeira dura | Furo de passagem |
|---|---|---|---|
| #6 | 5/64″ | 3/32″ | 9/64″ |
| #8 | 3/32″ | 1/8″ | 11/64″ |
| #10 | 7/64″ | 9/64″ | 3/16″ |
| #12 | 1/8″ | 5/32″ | 7/32″ |
| Screw | Pilot, softwood | Pilot, hardwood | Clearance |
|---|---|---|---|
| #6 | 5/64″ | 3/32″ | 9/64″ |
| #8 | 3/32″ | 1/8″ | 11/64″ |
| #10 | 7/64″ | 9/64″ | 3/16″ |
| #12 | 1/8″ | 5/32″ | 7/32″ |
| Screw | Pilot, softwood | Pilot, hardwood | Clearance |
|---|---|---|---|
| #6 | 5/64″ | 3/32″ | 9/64″ |
| #8 | 3/32″ | 1/8″ | 11/64″ |
| #10 | 7/64″ | 9/64″ | 3/16″ |
| #12 | 1/8″ | 5/32″ | 7/32″ |
Escareie para a cabeça ficar rente, fique a uma polegada da ponta da tábua e deixe pelo menos metade do parafuso na peça de baixo. Teste numa sobra, porque cada madeira se comporta de um jeito.
Cola: tempo aberto, grampo e cura
Tempo aberto é quanto você tem para montar depois de passar a cola. Tempo de grampo é quando dá para tirar os grampos. Antes da cura total, não force a junta.
Anúncios
| Cola | Tempo aberto | Grampo | Cura total |
|---|---|---|---|
| Cola PVA amarela | 5 – 10 min | 30 – 60 min | 24 h |
| PVA resistente à água | 5 – 10 min | 30 – 60 min | 24 h |
| PVA à prova de água | 10 – 15 min | 30 – 60 min | 24 h |
| Cola de poliuretano | 15 – 20 min | 1 – 2 h | 24 h |
| Epóxi de 5 minutos | cerca de 5 min | cerca de 1 h | 24 h |
| Epóxi lento | 20 – 45 min | 6 – 8 h | 24 – 72 h |
| Cianoacrilato (supercola) | segundos | não precisa | 8 – 24 h |
| Glue | Open time | Clamp | Full cure |
|---|---|---|---|
| PVA yellow glue | 5 – 10 min | 30 – 60 min | 24 h |
| PVA water-resistant | 5 – 10 min | 30 – 60 min | 24 h |
| PVA waterproof | 10 – 15 min | 30 – 60 min | 24 h |
| Polyurethane glue | 15 – 20 min | 1 – 2 h | 24 h |
| 5-minute epoxy | about 5 min | about 1 h | 24 h |
| Slow epoxy | 20 – 45 min | 6 – 8 h | 24 – 72 h |
| CA (super glue) | seconds | none | 8 – 24 h |
| Glue | Open time | Clamp | Full cure |
|---|---|---|---|
| PVA yellow glue | 5 – 10 min | 30 – 60 min | 24 h |
| PVA water-resistant | 5 – 10 min | 30 – 60 min | 24 h |
| PVA waterproof | 10 – 15 min | 30 – 60 min | 24 h |
| Polyurethane glue | 15 – 20 min | 1 – 2 h | 24 h |
| 5-minute epoxy | about 5 min | about 1 h | 24 h |
| Slow epoxy | 20 – 45 min | 6 – 8 h | 24 – 72 h |
| CA (super glue) | seconds | none | 8 – 24 h |
A ordem da lixa
Não pule mais de um grão por vez: cada lixa só tira os riscos da anterior.
| Grão | Para quê |
|---|---|
| 60 – 80 | Desbastar, tirar marca de serra |
| 100 – 120 | Alisar depois da máquina |
| 150 | Último antes do tingidor |
| 180 | Antes de verniz em madeira dura |
| 220 | Passada final antes do verniz |
| 320 – 400 | Só entre demãos |
| Grit | Use |
|---|---|
| 60 – 80 | Shaping, removing saw marks, flattening |
| 100 – 120 | General smoothing after machining |
| 150 | Last grit before stain on most woods |
| 180 | Before clear finish on hardwoods |
| 220 | Final pass for clear finish; first scuff between coats |
| 320 – 400 | Between finish coats only |
| Grit | Use |
|---|---|
| 60 – 80 | Shaping, removing saw marks, flattening |
| 100 – 120 | General smoothing after machining |
| 150 | Last grit before stain on most woods |
| 180 | Before clear finish on hardwoods |
| 220 | Final pass for clear finish; first scuff between coats |
| 320 – 400 | Between finish coats only |
Acabamento: demãos e tempo de espera
Tempos típicos com cerca de 21 °C e umidade média. Lugar frio ou úmido atrasa tudo. Leia a lata e teste numa sobra antes de passar no móvel.
| Acabamento | Demãos | Nova demão | Pronto para uso |
|---|---|---|---|
| Tingidor a óleo | 1 – 2 | 4 – 8 h | 8 h antes do verniz |
| Tingidor à base d’água | 1 – 2 | 1 – 2 h | 2 h antes do verniz |
| Óleo (tungue ou dinamarquês) | 2 – 3 | 8 – 24 h | cerca de 3 dias |
| Poliuretano de passar com pano | 3 – 5 | 2 – 3 h | 24 h para uso leve |
| Poliuretano a óleo | 2 – 3 | 4 – 24 h | 48 h para uso leve |
| Poliuretano à base d’água | 3 – 4 | cerca de 2 h | 24 h para uso leve |
| Goma-laca | 2 – 4 | cerca de 1 h | no mesmo dia |
| Laca em spray | 3 – 4 | 30 – 60 min | no mesmo dia |
| Óleo com cera dura | 2 | 8 – 12 h | 24 – 48 h para uso leve |
| Cera em pasta | 1 – 2 | lustrar após 10 – 20 min | na hora |
| Finish | Coats | Recoat | Ready |
|---|---|---|---|
| Oil-based stain | 1 – 2 | 4 – 8 h | Wait 8 h before topcoat |
| Water-based stain | 1 – 2 | 1 – 2 h | Wait 2 h before topcoat |
| Oil finish (tung or Danish blend) | 2 – 3 | 8 – 24 h | about 3 days |
| Wipe-on poly | 3 – 5 | 2 – 3 h | 24 h light use |
| Oil-based poly | 2 – 3 | 4 – 24 h | 48 h light use |
| Water-based poly | 3 – 4 | about 2 h | 24 h light use |
| Shellac | 2 – 4 | about 1 h | same day |
| Spray lacquer | 3 – 4 | 30 – 60 min | same day |
| Hardwax oil | 2 | 8 – 12 h | 24 – 48 h light use |
| Paste wax | 1 – 2 | buff after 10 – 20 min | right away |
| Finish | Coats | Recoat | Ready |
|---|---|---|---|
| Oil-based stain | 1 – 2 | 4 – 8 h | Wait 8 h before topcoat |
| Water-based stain | 1 – 2 | 1 – 2 h | Wait 2 h before topcoat |
| Oil finish (tung or Danish blend) | 2 – 3 | 8 – 24 h | about 3 days |
| Wipe-on poly | 3 – 5 | 2 – 3 h | 24 h light use |
| Oil-based poly | 2 – 3 | 4 – 24 h | 48 h light use |
| Water-based poly | 3 – 4 | about 2 h | 24 h light use |
| Shellac | 2 – 4 | about 1 h | same day |
| Spray lacquer | 3 – 4 | 30 – 60 min | same day |
| Hardwax oil | 2 | 8 – 12 h | 24 – 48 h light use |
| Paste wax | 1 – 2 | buff after 10 – 20 min | right away |
Pano com óleo de acabamento pode pegar fogo sozinho. Deixe secar aberto do lado de fora ou guarde numa lata de metal fechada com água.
Medidas padrão de móvel
Para o móvel ficar confortável, comece por estas medidas e ajuste ao cliente:
| Medida padrão | Faixa comum |
|---|---|
| Altura da mesa de jantar | 28 – 30″ |
| Altura do assento da cadeira | 17 – 19″ |
| Altura da escrivaninha | 28 – 30″ |
| Altura da bancada de cozinha | 36″ |
| Altura de balcão de bar | 40 – 42″ |
| Altura da mesa de centro | 16 – 18″ |
| Altura do assento do banco | 17 – 19″ |
| Altura do criado-mudo | 24 – 28″ |
| Profundidade da prateleira de estante | 10 – 12″ |
| Espaço por pessoa na mesa | 24″ de largura |
| Altura da bancada de trabalho | na altura do seu pulso (34 – 38″) |
| Folga da corrediça de gaveta | 1/2″ de cada lado (corrediça lateral comum) |
| Standard size | Common range |
|---|---|
| Dining table height | 28 – 30″ |
| Dining chair seat height | 17 – 19″ |
| Desk height | 28 – 30″ |
| Kitchen counter height | 36″ |
| Bar height | 40 – 42″ |
| Coffee table height | 16 – 18″ |
| Bench seat height | 17 – 19″ |
| Nightstand height | 24 – 28″ |
| Bookcase shelf depth | 10 – 12″ |
| Space per diner at a table | 24″ wide |
| Workbench height | about your wrist (34 – 38″) |
| Drawer slide clearance | 1/2″ each side (most side-mount) |
| Standard size | Common range |
|---|---|
| Dining table height | 28 – 30″ |
| Dining chair seat height | 17 – 19″ |
| Desk height | 28 – 30″ |
| Kitchen counter height | 36″ |
| Bar height | 40 – 42″ |
| Coffee table height | 16 – 18″ |
| Bench seat height | 17 – 19″ |
| Nightstand height | 24 – 28″ |
| Bookcase shelf depth | 10 – 12″ |
| Space per diner at a table | 24″ wide |
| Workbench height | about your wrist (34 – 38″) |
| Drawer slide clearance | 1/2″ each side (most side-mount) |
Os quinze erros mais comuns e o conserto
| # | Problema | Conserto |
|---|---|---|
| 1 | Lasca no corte transversal | Lâmina afiada, inserto de folga zero, fita no traço, tábua de apoio |
| 2 | Tingidor manchado | Condicionador antes do tingidor, tingidor em gel ou uma demão fina de goma-laca |
| 3 | Mancha de cola aparece no tingidor | Raspar quando a cola estiver borrachuda e lixar antes do acabamento |
| 4 | Fresta na meia-esquadria | Cortar 4 peças de teste, ajustar a serra, depois cortar as peças de verdade |
| 5 | Peça fora de esquadro | Medir as duas diagonais: iguais = esquadro; mudar os grampos até bater |
| 6 | Tampo racha ou empena | Prender o tampo com furo oblongo ou presilha; acabamento nas duas faces |
| 7 | Parafuso racha a tábua | Furo-guia, ficar a 1 polegada da ponta, grampear |
| 8 | Marca de queimado | Avanço constante, lâmina limpa, passada final leve |
| 9 | Marca de pincel ou bolha | Mexer sem sacudir, demãos finas, ou trocar por verniz de pano |
| 10 | Aspereza depois do verniz à base d’água | Pano úmido, secar, lixa 220 e depois o verniz |
| 11 | Acabamento que não seca | Limpar com aguarrás, lugar quente e seco, demãos mais finas |
| 12 | Peça sai na medida errada | Uma trena só no projeto, risco fino, cortar do lado da sobra |
| 13 | Gaveta prende | Deixar a folga da corrediça, cera nos trilhos, aplainar um fio |
| 14 | Colagem solta | Camada uniforme de cola, aperto moderado, parafuso em topo de fibra |
| 15 | Mesa ou cadeira manca | Apoiar no plano, calçar, marcar e cortar o pé mais longo |
| # | Problem | The fix |
|---|---|---|
| 1 | Tearout on crosscuts | Sharp blade, zero-clearance insert, tape the line, backer board |
| 2 | Blotchy stain | Pre-stain conditioner, gel stain, or a wash coat of shellac |
| 3 | Glue spots show under stain | Scrape when rubbery, sand it off, stain test before finishing |
| 4 | Gaps in miters | Test cut 4 pieces, adjust the saw, then cut the real parts |
| 5 | Project not square | Measure both diagonals: equal = square; shift clamps until they match |
| 6 | Top cracks or cups | Fasten tops with slotted holes or clips; finish both faces |
| 7 | Screw splits the board | Pilot hole (chart on page 7), stay 1″ from the end, clamp |
| 8 | Burn marks | Steady feed, clean the blade, light final pass |
| 9 | Brush marks or bubbles | Stir, don’t shake; thin coats; or switch to wipe-on |
| 10 | Rough feel after water-based finish | Wipe with a damp cloth, let dry, sand 220, then finish |
| 11 | Finish stays sticky | Wipe with mineral spirits, warm dry room, thinner coats |
| 12 | Parts come out the wrong size | One tape for the project, knife or fine line, cut on the waste side |
| 13 | Drawer sticks | Leave the slide clearance, wax the runners, plane a hair off |
| 14 | Glue joint fails | Even glue film, moderate clamp pressure, add fasteners on end grain |
| 15 | Wobbly table or chair | Set on a flat surface, shim, mark and trim the long leg |
| # | Problem | The fix |
|---|---|---|
| 1 | Tearout on crosscuts | Sharp blade, zero-clearance insert, tape the line, backer board |
| 2 | Blotchy stain | Pre-stain conditioner, gel stain, or a wash coat of shellac |
| 3 | Glue spots show under stain | Scrape when rubbery, sand it off, stain test before finishing |
| 4 | Gaps in miters | Test cut 4 pieces, adjust the saw, then cut the real parts |
| 5 | Project not square | Measure both diagonals: equal = square; shift clamps until they match |
| 6 | Top cracks or cups | Fasten tops with slotted holes or clips; finish both faces |
| 7 | Screw splits the board | Pilot hole (chart on page 7), stay 1″ from the end, clamp |
| 8 | Burn marks | Steady feed, clean the blade, light final pass |
| 9 | Brush marks or bubbles | Stir, don’t shake; thin coats; or switch to wipe-on |
| 10 | Rough feel after water-based finish | Wipe with a damp cloth, let dry, sand 220, then finish |
| 11 | Finish stays sticky | Wipe with mineral spirits, warm dry room, thinner coats |
| 12 | Parts come out the wrong size | One tape for the project, knife or fine line, cut on the waste side |
| 13 | Drawer sticks | Leave the slide clearance, wax the runners, plane a hair off |
| 14 | Glue joint fails | Even glue film, moderate clamp pressure, add fasteners on end grain |
| 15 | Wobbly table or chair | Set on a flat surface, shim, mark and trim the long leg |
Para conferir o esquadro de um móvel, meça as duas diagonais: se forem iguais, está no esquadro. Em peças grandes, use a regra 3-4-5: 3 pés de um lado, 4 do outro e 5 na diagonal.
Os valores são faixas típicas de mercado e de rótulo. Use as proteções das máquinas, óculos e protetor auricular, e siga o manual de cada ferramenta.
Perguntas frequentes
O guia é pago?
Não. O download é grátis e não pede cadastro.
Em que idioma está o guia?
Em inglês, com medidas em polegadas e milímetros.
É igual ao guia de 10 projetos fáceis?
Não. Aquele traz projetos com lista de corte. Este é a referência de bancada: medidas, juntas, parafusos, cola, lixa e acabamento, para usar em qualquer projeto.
Dá para imprimir?
Dá. As páginas foram feitas em tamanho carta para imprimir e pendurar na parede da oficina.
Os tempos valem para qualquer marca?
São faixas comuns. Cada produto tem o seu rótulo, e ele sempre vale mais que a tabela.
Nota: o Vifalio é um site independente, sem ligação com fabricantes de ferramentas, colas ou acabamentos. Conteúdo conferido em 12/11/2026 com o guia em PDF do Vifalio.